1. To begin, click on the Windows icon, also known as the Start menu.
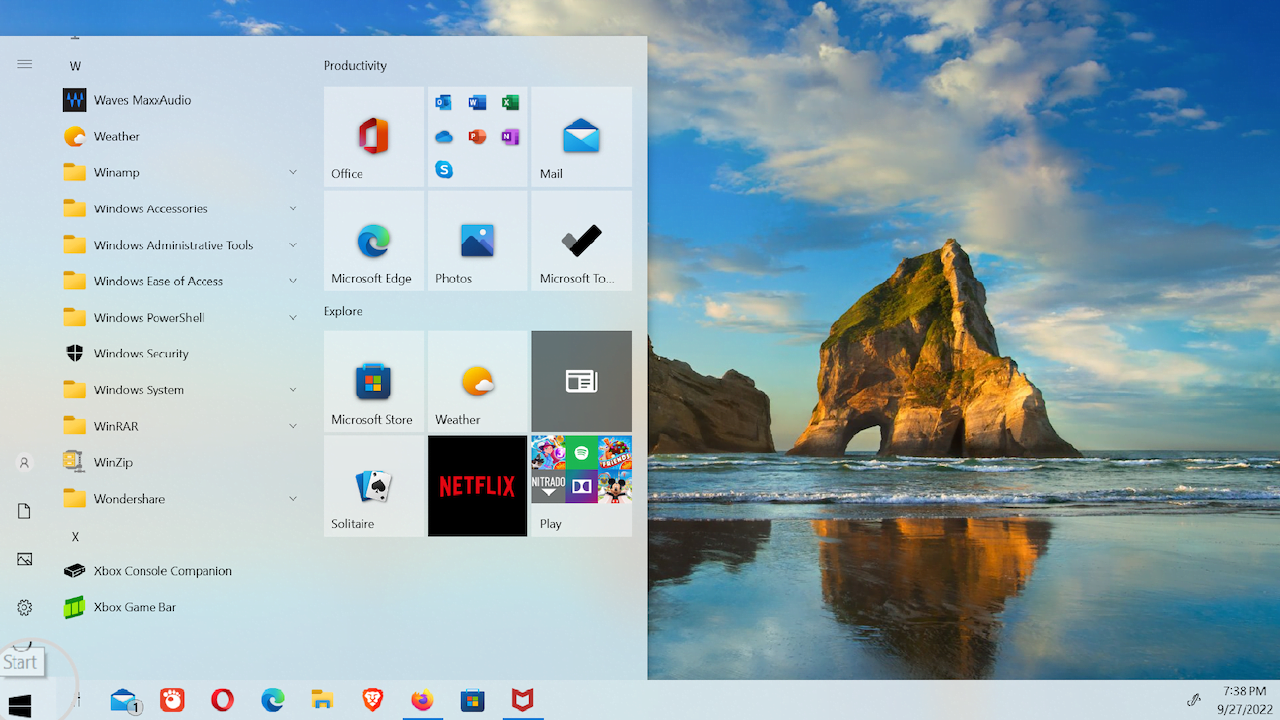
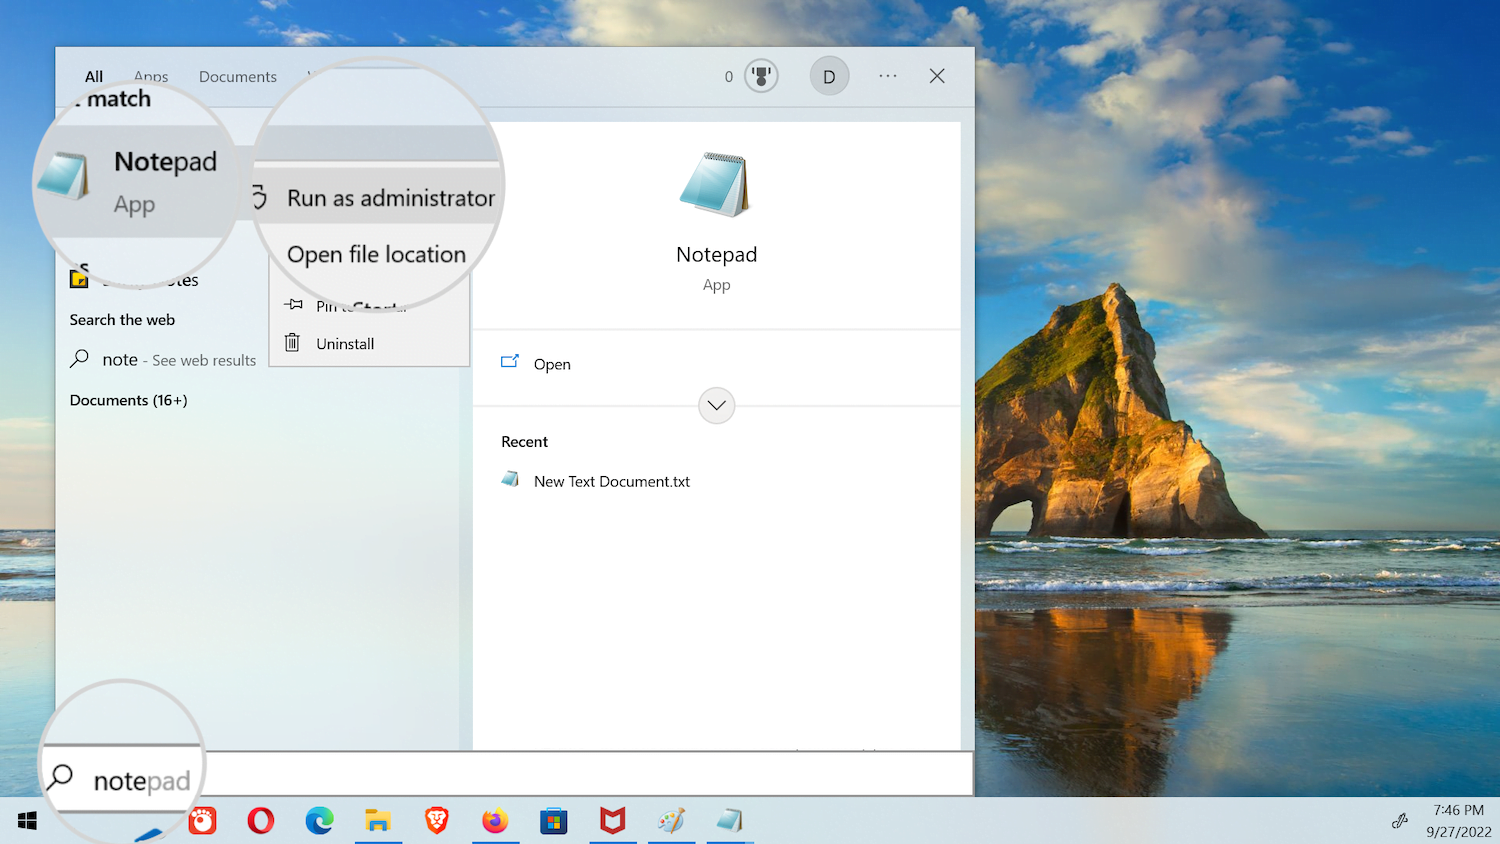
2. Type "Notepad" in the search bar and select the Notepad application.
3. Right-click on the Notepad icon and choose "Run as administrator."
4. From within the Notepad window, navigate to the File menu and click on it. Then, select the "Open" option, which will open a file selector box. 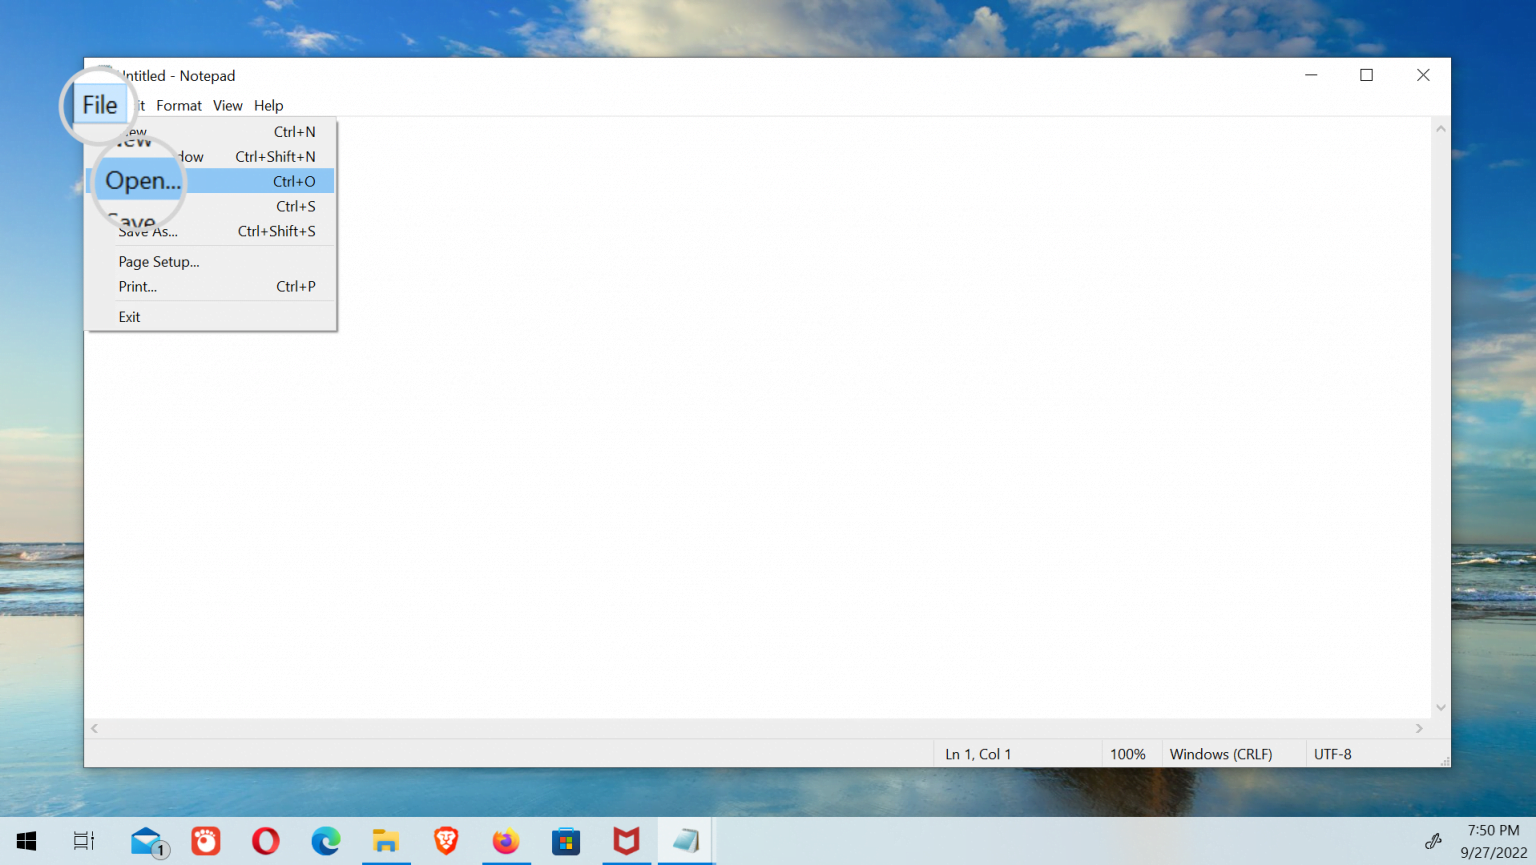
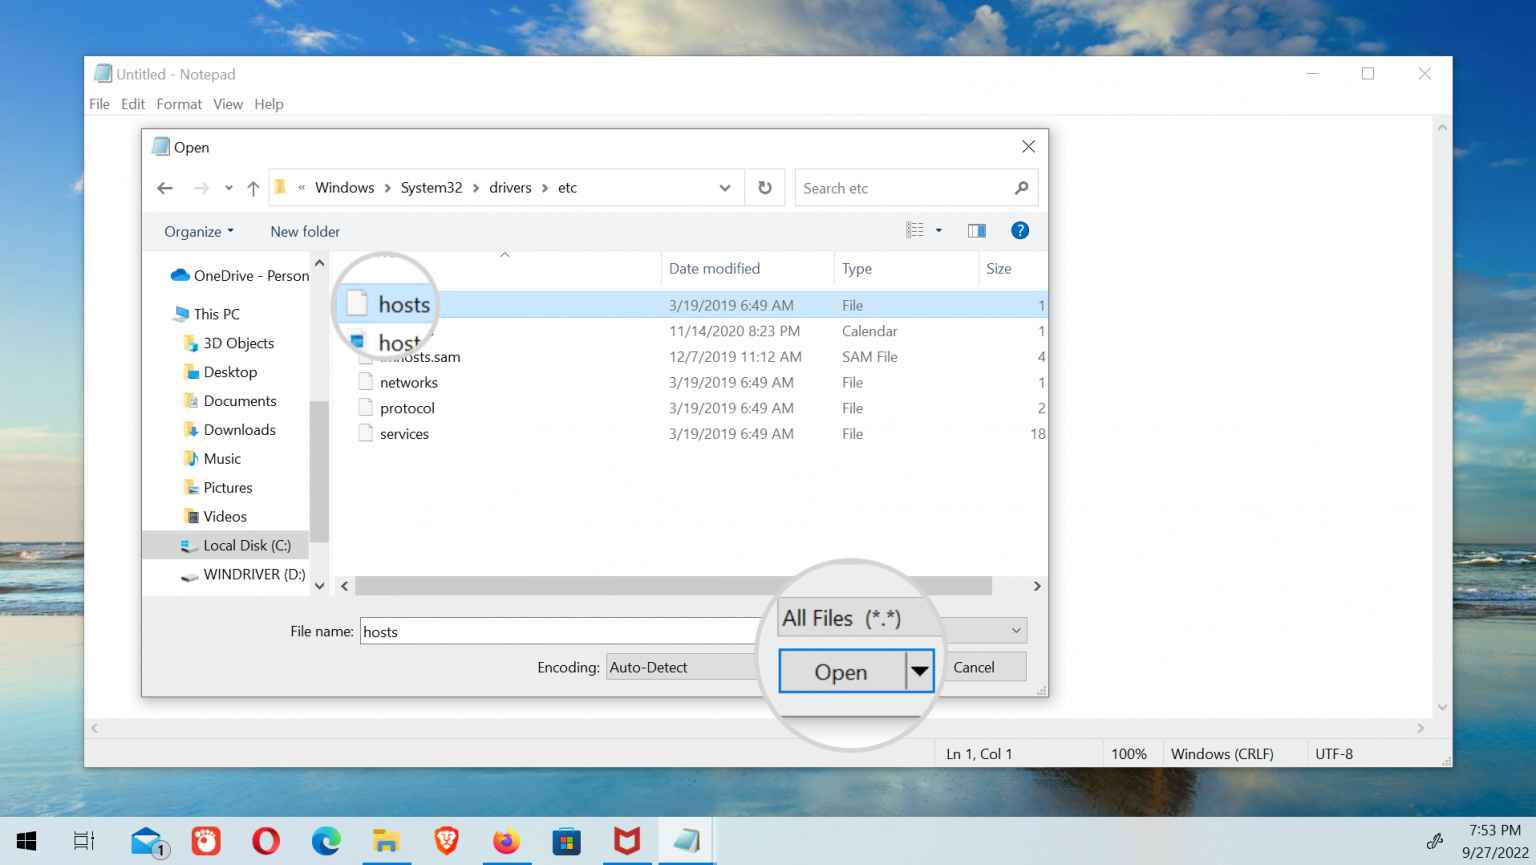
5. Make sure to select "All Files" in the file type dropdown menu; otherwise, the hosts file will not appear in the dialogue box. The hosts file is a hidden file and does not have a .txt extension. Once you have selected "All Files," navigate to the path where the hosts file is located, choose the file, and click "Open."
6. To add custom hostname settings, you should write a new line at the bottom of the file without including the "#" symbol. The new entry should follow the following format:
IP_address yourdomain.com www.yourdomain.com
7. Replace "IP_address" with the actual IP address of the website and "yourdomain.com" with the domain you want to map to that IP address.In your specific case, where you are connecting the non-existing domain "my-new-website.com" to the IP address 35.214.215.226, the line should read:
35.214.215.226 my-new-website.com www.my-new-website.com
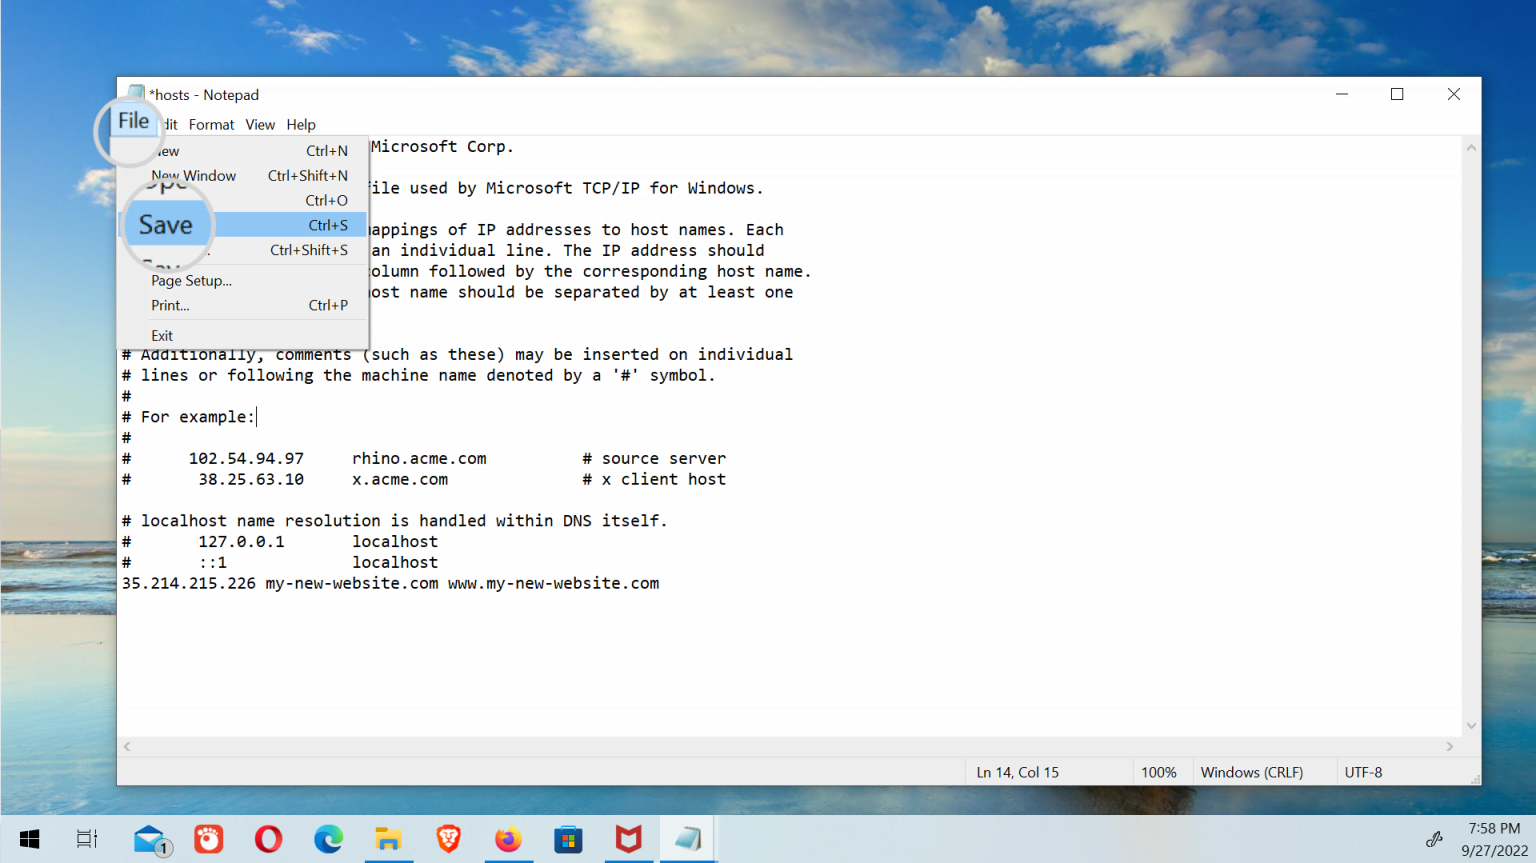
8. To save the changes you made, use the keyboard shortcut Ctrl + S or navigate to the File menu and select "Save." This will ensure that the modifications to the hosts file are preserved.